NODES NODES NODES
Think of Nodes as tiny, mini-machines that are excellent are doing one thing really well. This is true for the majority of the nodal workflows you will encouter in your pursuit of CG artistry.
Houdini, as you know, uses a fully node-based workflow, and it does so exceptionally well. There are hundreds of dedicated nodes, that combined together, can offer almost endless possbilities.
Nodes work on a simple premise: 1) Data either originates direcly from the node or is piped INTO it, 2) the node does its magic and then 3) the node OUPUTS information
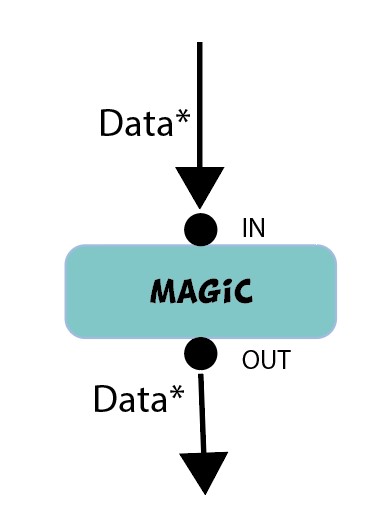
One thing to remember in Houdini – the little circles above the node can accept only ONE data input at a time*. The output circles can be fed to as many other inputs as necessary. In other words:
One IN, Many Out
(*certain nodes, like the Merge node, can accept many inputs. In reality, it has endless individual inputs shown as a rounded bar above the node)
In this lesson, we will focus on the most common Nodes used in Houdini. The sooner you familiarize yourselves with them, the better you’ll be able to get Houdini to do you creative wishes
COMMONLY USED NODES
Below you’ll find a list of commonly used Houdini nodes. These will be your proverbial bread-and-butter nodes you’ll use in the majority of your node trees.
1. GEO(metry)
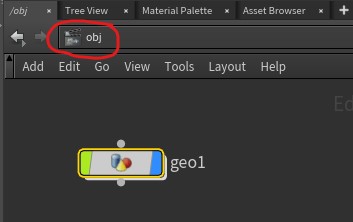
The Geometry node is the base node used to create meshes in Houdini at the Object level. You can start with a blank node, or create a primitive node that includes the primitive shape node within it. Simply press Tab and type geo to get started.
More information on the node can be found in the following links:
https://www.sidefx.com/docs/houdini/nodes/sop/index.html
https://www.sidefx.com/docs/houdini/model/create.html
2. BOX, SPHERE, GRID, LINE & CIRCLE
These primitive shapes are proably the most common starting points to create geometry in Houdini. They have a lot of parameters that allow customization, as well as choosing primitive types. You can read more on Box and Sphere here. Use the search bar to look for the other primitive nodes.
3. TRANSFORM
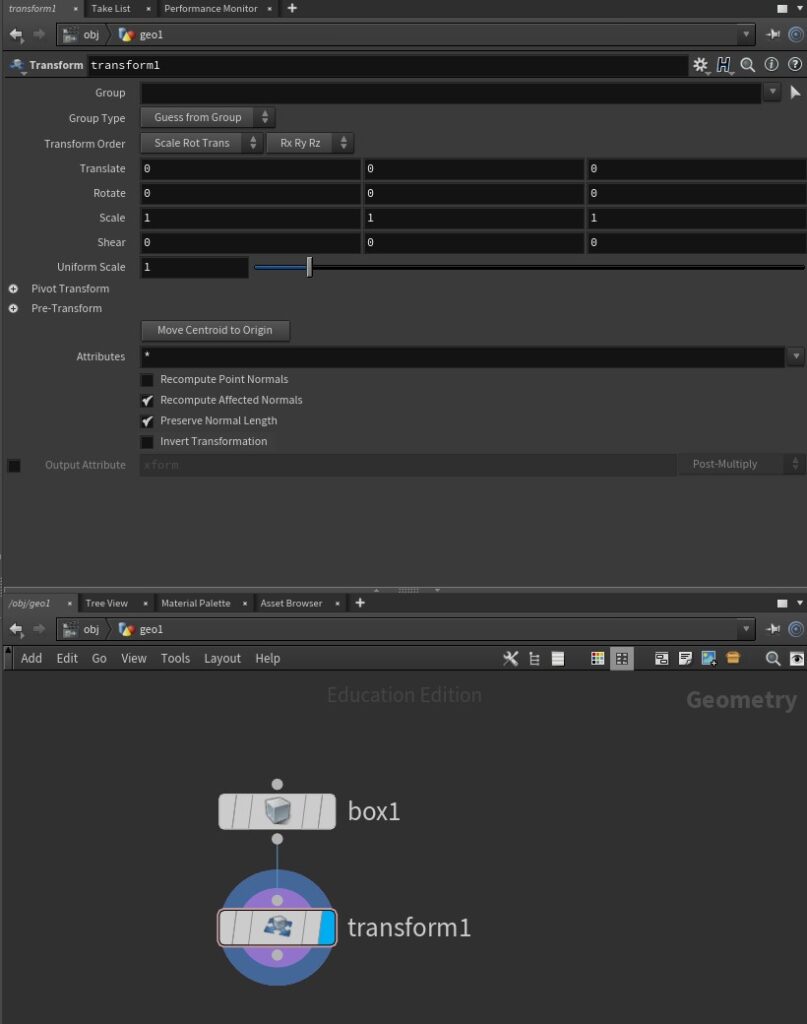
The Transform node allows manipulation of the meshes in 3D space via move, rotate and scale. It also allows access to the pivot point. You will use the bbox expression very often with this node.
4. MERGE
The Merge node combines multiple, separate nodes into one. It bears a vague similarity to the Combine command in Maya, but is more powerful with what can achieved from it.

5. DELETE
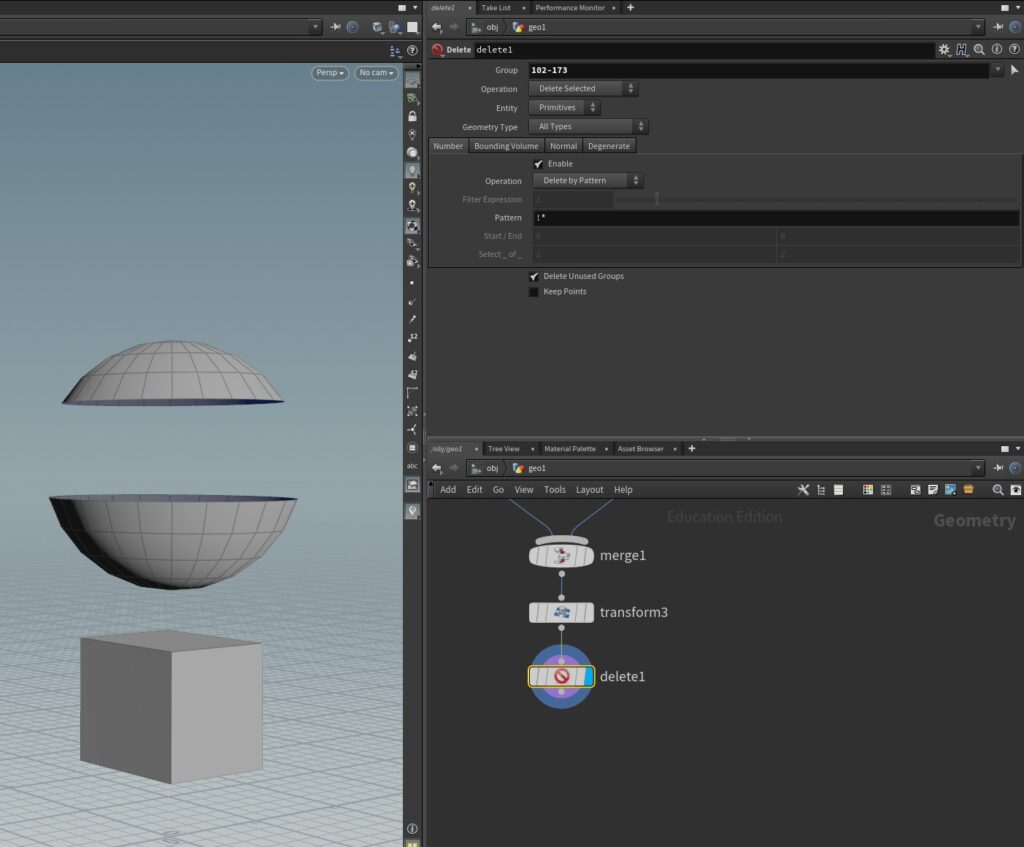
The Delete node can remove whole mesh shapes or parts of them (points, edges or primitives). It also has a powerful built-in Pattern option that offers a lot of control over which elements are to be removed.
6. SWITCH
The Switch node is a very powerful node. Like the Merge node, it accepts an endless amount of inputs, and allows to switch between them using a slider that represents the order the inputs have been entered.
Unfortunately, reading the documentation on this wonderful node is equivalent to having your hair pulled by an angry monkey who feels cheated out of his afternoon banana.

You can try your luck here, but you’ve been warned: https://www.sidefx.com/docs/houdini/nodes/sop/switch.html
In the video below, I’ll demonstrate in more detail how the Switch node works.
COPYING OBJECTS
One of the most common actions done within Houdini, especially when modeling procedural objects, is copying. This can be something as copying a base mesh on a few points to replacing complex models with proxy geometry and populating whole digital worlds in the process.
NOTE: If you’re interested about a more technical approach to copying and instancing, here’s a good article that covers it.
In the following video, I will cover the fundamental copy workflows in Houdini:
WEEK 3 COURSEWORK
Watch the video below and have your table reference ready for class. A neat little (free) program to help you collect your references in one place is PureRef.
Using the approaches we discussed, start building your procedural table. Use the CopyToPoints, bbox, Transform, Box, Line and any other node to get you started.
